
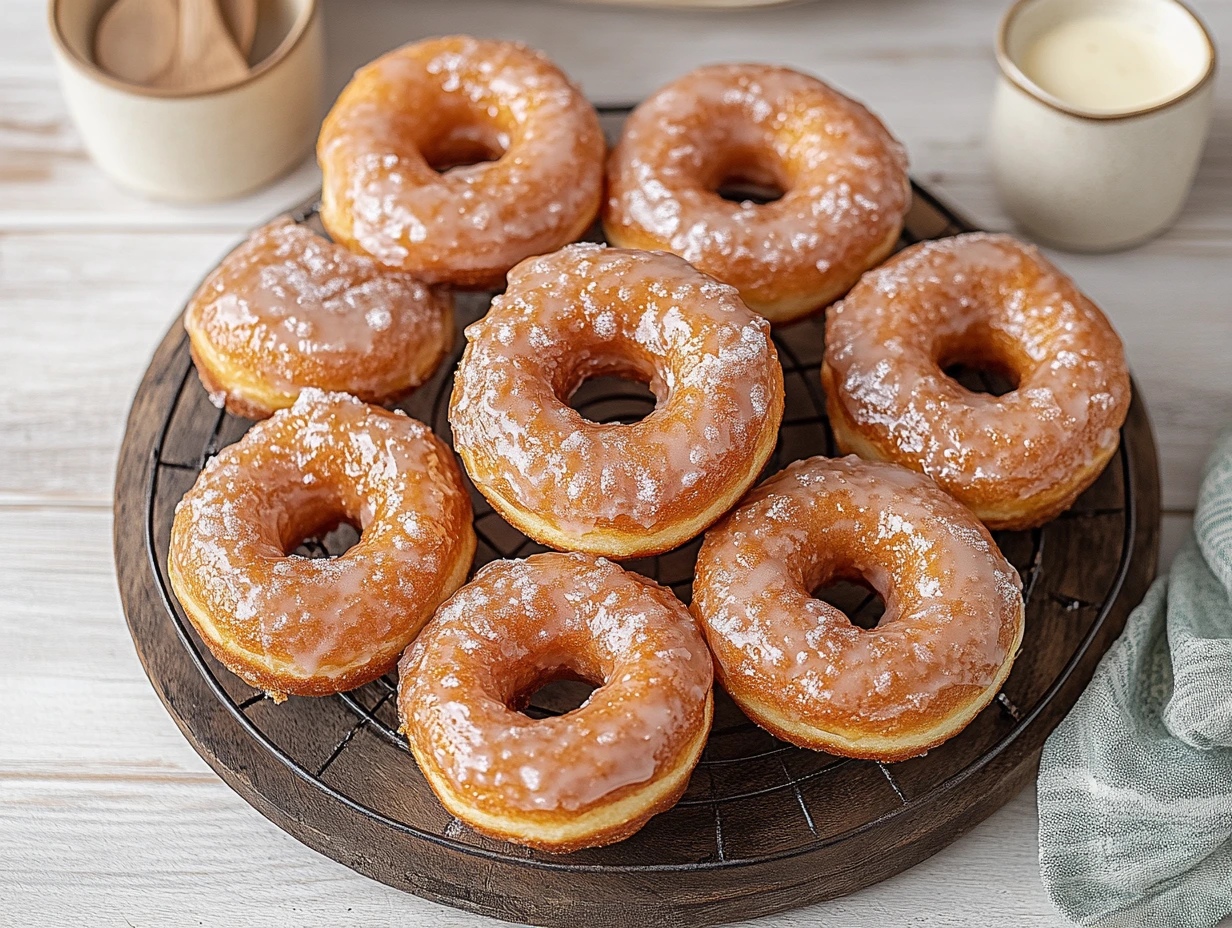
Old fashioned donuts have a timeless appeal that brings back memories of cozy mornings and family gatherings. This classic treat, with its characteristic craggy exterior and tender crumb, has an influence on both nostalgic food lovers and adventurous home bakers. The old fashioned donut recipe stands out for its simplicity, often featuring buttermilk and nutmeg, and doesn’t require yeast, making it accessible to bakers of all skill levels.
Creating these delectable glazed donuts at home is easier than many might think. This article guides readers through the process of making perfect old fashioned glazed donuts, from preparing the kitchen to achieve the ideal texture and flavor. It covers mixing and chilling the dough, shaping and frying techniques, and crafting a mouthwatering glaze. By following these steps, anyone can enjoy the satisfaction of biting into a homemade donut that rivals those from the best bakeries.
Preparing Your Kitchen for Donut Making
Before diving into the delightful process of creating old fashioned glazed donuts, it’s crucial to set up your kitchen properly. This preparation ensures a smooth and enjoyable baking experience.
Essential Tools
To start your old fashioned donut recipe journey, gather the following tools:
• A large mixing bowl for combining ingredients • Measuring cups and spoons for accurate measurements • A deep saucepan or Dutch oven for frying • A thermometer to monitor oil temperature • A baking sheet lined with a wire rack for cooling • A spider strainer or slotted spoon for retrieving donuts
For those who want to elevate their donut-making game, consider investing in a kitchen scale. This tool helps ensure precise measurements, especially when working with cake flour, which is crucial for achieving that perfect texture in old fashioned glazed donuts .
A doughnut cutter is another handy tool that creates uniform shapes. However, if you don’t have one, don’t worry. You can use two differently sized cookie cutters or even a thin-rimmed glass for the larger circle and a bottle cap for the smaller one .
Ingredient Prep
Now that your tools are ready, it’s time to prepare your ingredients. For the classic old fashioned donut recipe without yeast, you’ll need:
• Cake flour (bleached for best results) • Baking powder • Salt • Ground nutmeg (a key flavor in old fashioned donuts) • Granulated sugar • Salted butter • Egg yolks • Vanilla extract • Sour cream or buttermilk
For the glaze, have powdered sugar, milk, and vanilla extract on hand.
Before you begin mixing, ensure all your ingredients are at room temperature. This is especially important for the butter and eggs, as it helps them incorporate more easily into the dough.
When measuring the flour, use the spoon and level method to avoid compacting too much flour into the measuring cup. Better yet, if you have a kitchen scale, weigh your flour for the most accurate results 1.
As you prepare to fry your donuts, set up a safe frying station. Place your deep saucepan or Dutch oven on the stove and fill it with about 2 inches of neutral-flavored oil, such as vegetable or peanut oil. Heat the oil gradually over medium-low heat, aiming for a temperature of 350°F (175°C) 2.
Remember, patience is key when making old fashioned glazed donuts. Allow time for your dough to chill in the refrigerator before rolling and cutting. This resting period helps the gluten relax, making the dough easier to work with and resulting in tender, fluffy donuts .
By thoroughly preparing your kitchen and ingredients, you’re setting the stage for a successful baking session. With these steps completed, you’re ready to move on to mixing and chilling the dough for your delicious old fashioned glazed donuts.
Mixing and Chilling the Dough
Combining Ingredients
The process of creating the perfect old fashioned donut recipe begins with carefully combining the ingredients. To start, cream together the butter and sugar in a large mixing bowl or the bowl of a stand mixer. This step helps create a light and fluffy texture in the final product. Next, add the egg yolks and mix until the mixture becomes thick and light in color.
In a separate bowl, whisk together the dry ingredients, including the cake flour, baking powder, salt, and a pinch of nutmeg for that classic old fashioned donut flavor. Gradually add these dry ingredients to the butter mixture in three additions, alternating with sour cream or buttermilk. This method ensures that the ingredients are evenly distributed throughout the dough.
Mix the dough on low speed for about 30 seconds or until it becomes smooth but slightly sticky. It’s crucial not to overmix, as this can lead to tough donuts. If the dough feels too sticky, add extra flour one tablespoon at a time, especially if you’re in a warm and humid climate.
Proper Chilling Techniques
Chilling the dough is a critical step in making old fashioned glazed donuts. After mixing, cover the dough with plastic wrap and refrigerate for at least one hour, or until it becomes firm. This resting period allows the gluten to relax, making the dough easier to work with and resulting in tender, fluffy donuts.
For those with busy schedules, the good news is that you can keep the dough chilling for up to three days. This flexibility allows you to fit donut-making into your routine without sacrificing quality. Some bakers even prefer to chill the dough overnight, as it gives the flavors more time to develop.
To properly store the dough, lightly spray a mixing bowl with nonstick cooking spray and line it with plastic wrap. This prevents the wrap from moving around in the bowl. Transfer the dough to the prepared bowl, fold the excess wrap over the top, and place it in the refrigerator.
For those interested in experimenting with different techniques, you can try the cold retard method. This involves kneading the dough, allowing it to rise once, deflating it, and shaping it into a ball. Place the dough in an oiled airtight container and refrigerate for up to two and a half days.
Remember, patience is key when making old fashioned glazed donuts. The chilling process is essential for achieving the right texture and flavor. Without proper chilling, the dough would be too sticky to roll out and cut, and the ingredients wouldn’t have enough time to come together properly.
Shaping and Frying Your Donuts
Rolling and Cutting
After chilling the dough, it’s time to shape the old fashioned glazed donuts. Start by lightly dusting a clean counter with flour. Turn the dough out onto the floured surface and sprinkle a little more flour on top. Gently pat the dough into an oval shape, making sure it’s well-dusted both underneath and on top. Roll it out to a thickness of 1/2 inch, re-dusting above and below as needed to prevent sticking .
Using a donut cutter or two differently sized cookie cutters, stamp out as many donuts as possible. If you don’t have a donut cutter, you can use a thin-rimmed glass for the larger circle and a bottle cap for the smaller one 1. Collect the scraps, re-roll, and stamp out more donuts. However, it’s best to cut out as many as you can from the first roll, as the second re-rolled dough can be harder to handle and may result in thicker donuts .
For those interested in making filled donuts, simply divide the dough into equal portions and roll them into smooth balls. This versatility is one of the reasons why the old fashioned donut recipe without yeast is so popular among home bakers.
Frying Tips
When it comes to frying old fashioned glazed donuts, maintaining the right oil temperature is crucial. The optimum temperature for frying should be between 370°F and 375°F (188°C to 191°C) . If the oil is too hot, the donuts will brown too quickly on the outside while remaining raw in the center. Conversely, if the oil is too cool, the donuts will absorb excess oil, resulting in a greasy texture .
To fry the donuts, use a deep saucepan or Dutch oven filled with about 2 inches of neutral-flavored oil, such as vegetable or peanut oil. Allow the donuts to dry for about 5 minutes before frying to prevent them from blistering when they hit the hot oil .
Gently lower the donuts into the oil using chopsticks or a slotted spoon to avoid splashing. Fry them in small batches, about 2-4 at a time, to maintain the oil temperature . The donuts should take approximately 2 minutes per side to cook through and achieve a deep golden-brown color .
Once the donuts are golden brown on both sides, remove them from the oil using a spider strainer or slotted spoon. Place them on a paper towel-lined plate or a cooling rack set over a baking sheet to drain excess oil 1.
By following these shaping and frying tips, you’ll be well on your way to creating perfect old fashioned glazed donuts at home. The combination of nutmeg and buttermilk in the dough, along with the crispy exterior and tender interior achieved through proper frying, will result in a delicious treat that rivals any bakery offering.
Creating the Perfect Glaze
The final touch that transforms a simple old fashioned donut into a mouthwatering treat is the glaze. This sweet coating adds a delightful crackle and enhances the overall flavor of the donut. Creating the perfect glaze is an art that requires attention to detail and a bit of experimentation.
Glaze Consistency
To achieve the ideal glaze for old fashioned glazed donuts, start with a base of powdered sugar and add liquid gradually. The key is to find the right balance between thickness and fluidity. A good rule of thumb is to aim for a consistency that coats the back of a spoon smoothly but still allows excess to drip off easily.
For a basic glaze, combine powdered sugar with milk and vanilla extract. Start with a small amount of liquid and add more as needed. If the glaze becomes too thin, simply add more powdered sugar to thicken it. Remember, the glaze should be of pouring consistency but not so runny that it slides right off the donut .
For those seeking a thicker glaze, a clever trick is to add a tiny bit of meringue powder or powdered egg white. This helps thicken the glaze without making it overly sweet . Another option is to dip the donuts twice, allowing the first layer to set before applying a second coat. This method results in a thicker, more pronounced glaze 4.
Flavoring Options
While a classic vanilla glaze is delicious, there are countless ways to customize the flavor of your old fashioned glazed donuts. Here are some exciting options to consider:
- Chocolate Glaze: Add cocoa powder to the basic glaze mixture for a rich chocolate coating. Use high-quality cocoa powder for the best flavor .
- Fruit-Flavored Glaze: Substitute fruit juice for milk in the glaze recipe. For example, use peach juice and a splash of lemon for a sweet and tangy glaze .
- Coffee Glaze: Incorporate espresso powder into the milk before mixing it with the powdered sugar for a coffee-flavored glaze .
- Spiced Glaze: Add warm spices like cinnamon, nutmeg, or pumpkin spice mix to complement the flavors in the old fashioned donut recipe .
- Jam Glaze: For a fruity twist, whisk your favorite jam into the basic glaze recipe. Start with a small amount and adjust to taste .
When applying the glaze, it’s best to dip warm donuts directly into the mixture. This allows the glaze to spread evenly and create a smooth, shiny finish . Let any excess drip off before placing the glazed donuts on a wire rack to set 1.
Remember, the glaze is not just about sweetness; it’s about enhancing the overall donut experience. Experiment with different flavors and consistencies to find the perfect complement to your old fashioned donut recipe. With practice, you’ll master the art of glazing, creating donuts that rival those from the best bakeries.
Conclusion
The art of crafting old fashioned glazed donuts at home brings a touch of nostalgia and warmth to any kitchen. From preparing the dough to achieving the perfect glaze, this process has an influence on both novice bakers and seasoned enthusiasts alike. The simple yet delightful combination of a crispy exterior and tender crumb, enhanced by the sweet glaze, creates a treat that rivals those from the best bakeries.
With the right tools, techniques, and a bit of patience, anyone can master the old fashioned donut recipe. The joy of biting into a homemade donut, still warm from the fryer and coated in a perfectly sweet glaze, is unmatched. This classic treat not only satisfies cravings but also creates lasting memories, making it a worthwhile addition to any home baker’s repertoire.
FAQs
What distinguishes an old-fashioned donut from a glazed donut?
Old-fashioned donuts are essentially cake donuts that have been fried, giving them a slightly crunchy exterior that is often covered with a glaze or dusted with sugar. The interior is less dense than that of a typical powdered cake donut and not as airy as a Krispy Kreme-style glazed donut.
Which type of flour is ideal for making donuts?
All-purpose flour is recommended for donuts due to its moderate gluten content. Gluten is a protein that helps form a dough that can trap air, contributing to the fluffy texture characteristic of donuts.
What ingredients are used to make donut glaze?
Donut glaze is typically made by whisking together 2 cups of powdered sugar, ¼ cup of milk, and 1 teaspoon of vanilla until smooth. Once the donuts are cool enough to handle, they can be dipped into the glaze, ensuring they are fully coated, and then placed on racks to allow the glaze to set.
How can you improve the taste of old donuts?
To enhance the flavor of old donuts, preheat your oven to 300°F (150°C). Place the donuts on a cookie sheet and heat them in the oven for about 10 minutes. Meanwhile, prepare a mixture of two cups of powdered sugar and 1 teaspoon (or more, to taste) of cinnamon on a shallow plate. After heating, the donuts can be tossed in the sugar-cinnamon mix for added flavor.