
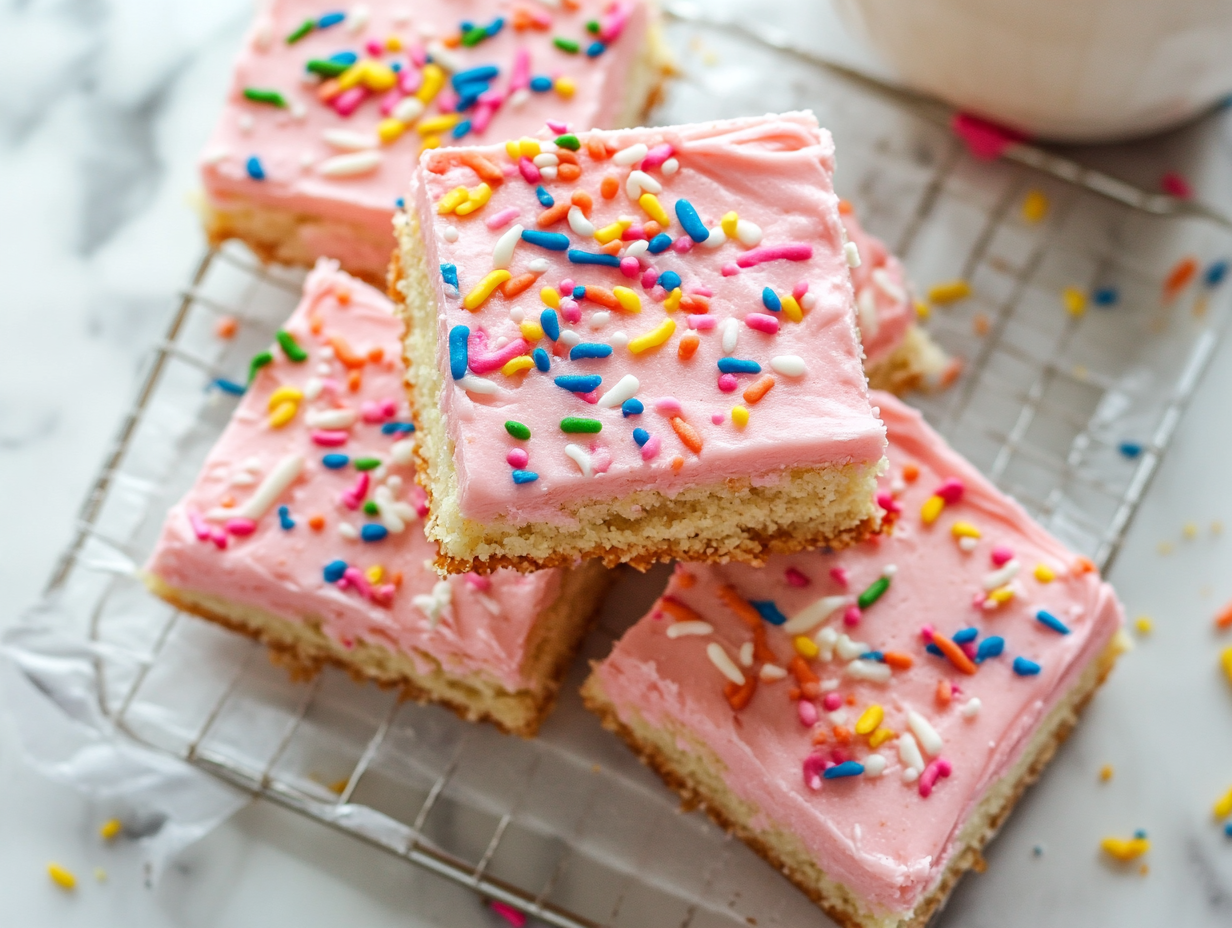
Frosted Sugar Cookie Bars have become a favorite in kitchens all over the world. They take the beloved sugar cookie, already a staple dessert, and turn it into a more convenient, shareable treat. Imagine the classic flavors of a sugar cookie but in the form of soft, buttery bars topped with creamy frosting and vibrant sprinkles. Not only do they taste amazing, but they also add a pop of color and fun to any occasion. Whether you’re planning for a party, holiday gathering, or simply craving something sweet, Frosted Sugar Cookie Bars offer a perfect solution. In this article, we’ll take a deep dive into their history, preparation, and why they’ve become such a cherished treat.
The Origins of Sugar Cookies
Before diving into the bars, let’s explore the origins of the sugar cookie itself. Sugar cookies have a long and rich history that dates back centuries. They first gained popularity in the mid-18th century in Pennsylvania, where the Moravian settlers made a cookie known as the “Nazareth Sugar Cookie.” The original recipe was simple, consisting of butter, sugar, eggs, and flour—four ingredients that form the base of most modern sugar cookie recipes.
As time passed, sugar cookies became synonymous with celebrations. Families baked them during holidays, especially Christmas, where they cut them into various festive shapes and decorated them with colored sugar or icing. The cookie’s simplicity and versatility contributed to its widespread appeal, and over the years, people have come up with countless variations.
The Frosted Sugar Cookie Bar is one such evolution. By transforming the cookie into a bar, it becomes even easier to make in large quantities, perfect for sharing. Plus, the bars maintain the delicious buttery flavor and soft texture that sugar cookies are known for, while the frosting adds an extra layer of indulgence.
The Appeal of Frosted Sugar Cookie Bars
Why have Frosted Sugar Cookie Bars become so popular? The answer lies in their ease of preparation and versatility.
1. Easy to Make: Baking individual cookies requires more time and effort. Rolling out dough, cutting shapes, and monitoring batch after batch can be tedious, especially when you’re baking for a large group. With Frosted Sugar Cookie Bars, you eliminate that hassle. Simply spread the dough in a pan, bake, and you have a tray of perfectly even bars ready to frost and decorate.
2. Customizable: Another reason these bars are so loved is their flexibility. You can customize the frosting color, flavor, and decorations to fit any occasion. Want something festive for a birthday? Opt for bright colors and fun sprinkles. Preparing for a holiday gathering? Use red and green frosting with Christmas-themed toppings. The possibilities are endless, and this customization makes Frosted Sugar Cookie Bars perfect for any event, from birthdays to baby showers.
3. Ideal for Sharing: These bars are perfect for sharing because you can cut them into any size, making them ideal for potlucks, parties, or as a treat to take to work or school. Their bar form makes them easier to transport than traditional cookies, which can break or crumble during travel.
4. Family-Friendly: Baking these bars is a fun family activity. Kids love helping in the kitchen, and decorating Frosted Sugar Cookie Bars offers an excellent opportunity to get creative. Children can choose different frosting colors, experiment with sprinkles, or even add small candies as toppings.
Ingredients for Frosted Sugar Cookie Bars
While there are countless ways to personalize Frosted Sugar Cookie Bars, the core ingredients remain relatively simple. You’ll likely find most of them already stocked in your kitchen. Here’s a breakdown of what you’ll need:
For the Bars:
- Butter: Provides richness and moisture. Be sure to use unsalted butter so you can control the salt level in your bars.
- Granulated Sugar: Sweetens the dough and helps create a tender texture.
- Eggs: Act as a binding agent and contribute to the softness of the bars.
- Vanilla Extract: Adds depth of flavor and enhances the sweetness.
- All-Purpose Flour: The base of your dough. Make sure to measure accurately to avoid dense or crumbly bars.
- Baking Powder: Helps the bars rise and gives them a light, fluffy texture.
- Salt: Balances the sweetness and enhances the overall flavor.
For the Frosting:
- Butter: The foundation of a creamy frosting. Room temperature butter will give you the smoothest texture.
- Powdered Sugar: Sweetens and thickens the frosting. It dissolves easily and creates that fluffy, smooth consistency we all love in frosting.
- Vanilla Extract: Adds flavor to the frosting. You can also experiment with other extracts like almond or peppermint, depending on your preference.
- Milk or Cream: Helps to achieve the desired frosting consistency. Cream will make your frosting richer, while milk gives it a lighter texture.
- Food Coloring and Sprinkles (Optional): These add fun and personality to your bars. Choose colors and toppings that match your theme or occasion.
How to Make Frosted Sugar Cookie Bars
Now that we’ve covered the ingredients, let’s walk through the process of making Frosted Sugar Cookie Bars step by step.
Step 1: Preheat and Prepare
Preheat your oven to 350°F (175°C). While the oven is heating, grease a 9×13 inch baking pan with butter or non-stick spray, and line it with parchment paper to prevent the bars from sticking.
Step 2: Make the Dough
In a large bowl, cream the butter and sugar together until light and fluffy, which should take about 3-5 minutes using an electric mixer. Once fully combined, beat in the eggs one at a time, making sure each one is fully incorporated before adding the next. Add the vanilla extract and mix again.
In a separate bowl, whisk the flour, baking powder, and salt together. Gradually add the dry ingredients to the wet mixture, stirring just until combined. Avoid overmixing to prevent the bars from becoming tough.
Step 3: Bake the Bars
Spread the dough evenly into the prepared baking pan, using a spatula to smooth the top. Bake for 15-18 minutes, or until the edges are lightly golden and a toothpick inserted into the center comes out clean. Be sure not to overbake, as this will result in dry bars. You want them to remain soft and chewy.
Allow the bars to cool fully in the pan before applying the frosting.
Step 4: Prepare the Frosting
While the bars are cooling, it’s time to prepare the frosting. In a medium bowl, beat the butter until creamy and smooth. Gradually add the powdered sugar, one cup at a time, beating thoroughly after each addition. Add the vanilla extract and 1-2 tablespoons of milk or cream. Continue to beat the mixture until it reaches your desired consistency. If the frosting is too thick, add more milk; if it’s too thin, add more powdered sugar.
If you want to color your frosting, divide it into separate bowls and mix in a few drops of food coloring.
Step 5: Frost and Decorate
Once the bars have fully cooled, spread the frosting evenly across the top. You can use a spatula for a smooth finish or create swirls for a more textured look. Finish by adding sprinkles, candies, or any other decorative toppings of your choice.
Allow the frosting to set for about 15-20 minutes before cutting the bars into squares or rectangles. For clean cuts, use a sharp knife and wipe it clean between each slice.
Creative Variations
While the classic vanilla-flavored Frosted Sugar Cookie Bars are delicious on their own, there are plenty of ways to get creative with this recipe.
1. Flavor the Dough: Try adding lemon zest for a citrusy twist, or swap out the vanilla extract for almond extract. You can even mix in some cocoa powder for chocolate-flavored sugar cookie bars.
2. Flavored Frosting: Don’t limit yourself to vanilla frosting. You can create a variety of flavors by adding different extracts like peppermint, coconut, or even coffee to the frosting. For a fruitier touch, mix in some pureed berries or a few tablespoons of fruit preserves.
3. Add Mix-Ins: For a more textured bar, fold in chocolate chips, dried cranberries, or chopped nuts into the dough before baking.
4. Holiday Themes: Customizing the bars for different holidays can be a lot of fun. For Christmas, use red and green food coloring for the frosting and add snowflake-shaped sprinkles. On Valentine’s Day, go with pink frosting and heart-shaped candies.
Storing and Serving
Frosted Sugar Cookie Bars taste best when served fresh, but you can store them for later use as well. Store the bars in an airtight container at room temperature for up to three days. If you need to store them longer, place them in the refrigerator, where they’ll last up to a week. You can also freeze the bars for up to three months, either frosted or unfrosted. If you freeze them frosted, allow the bars to thaw in the refrigerator before serving to preserve the texture of the frosting.
When serving these bars, cut them into small squares for bite-sized treats or larger rectangles for a more substantial dessert. They go perfectly with a cold glass of milk or a cup of coffee.
Conclusion
Frosted Sugar Cookie Bars have rightfully earned their place as a favorite dessert for many. Their soft, buttery texture, topped with sweet, creamy frosting, makes them an irresistible treat. Not only are they delicious, but they’re also easy to make and highly customizable. Whether you’re baking them for a special occasion or simply to satisfy your sweet tooth, Frosted Sugar Cookie Bars always hit the spot.
So next time you’re in the mood for a sweet, shareable treat, give these bars a try. You’ll enjoy the simplicity of the recipe, the joy of decorating, and, most importantly, the taste of this timeless dessert.
FAQs:
1. Can I make Frosted Sugar Cookie Bars ahead of time?
Yes! You can make the bars a day or two in advance. Store them in an airtight container at room temperature or in the refrigerator, depending on how long you want to keep them. For the best taste and texture, frost them right before serving.
2. Can I freeze Frosted Sugar Cookie Bars?
Absolutely. You can freeze the bars either frosted or unfrosted. If frosted, allow the frosting to harden a bit before wrapping them in plastic wrap. Store in a freezer-safe container for up to three months. Thaw in the refrigerator before serving.
3. How can I make the bars softer and chewier?
To keep the bars soft and chewy, avoid overbaking. Bake just until the edges are slightly golden, and a toothpick comes out clean. Overmixing the dough can also lead to tougher bars, so mix until just combined.
4. Can I customize the frosting color and flavor?
Yes! You can add food coloring to match any occasion or event. For flavor, try adding different extracts like almond, peppermint, or lemon to the frosting to create fun variations.