
Who doesn’t love waking up to the irresistible aroma of chocolate pancakes wafting through the house? We’ve all experienced that moment when a stack of fluffy, chocolatey goodness makes our mouths water. Today, I’m excited to share my tried-and-true method for making perfect chocolate pancakes at home. Whether you’re a fan of classic buttermilk pancakes or looking to add a cocoa-flavored twist to your breakfast routine, this guide has got you covered.
In this article, we’ll dive into the science behind creating the ideal chocolate pancake batter, explore the essential ingredients like all-purpose flour and baking soda, and walk through a step-by-step cooking process. I’ll also share some tips to elevate your pancakes, from adding chocolate chips to experimenting with Nutella or banana toppings. By the end, you’ll have the know-how to whip up a batch of homemade chocolate pancakes that rival any brunch spot’s offerings. So, let’s get started and transform your kitchen into a pancake paradise!
The Science Behind Perfect Chocolate Pancakes
Creating the perfect chocolate pancakes is a delightful blend of art and science. We need to understand the key components that make our pancakes fluffy, moist, and bursting with chocolate flavor. Let’s dive into the chemistry behind these breakfast treats.
Role of Leavening Agents
Leavening agents are crucial in giving our chocolate pancakes their signature fluffiness. Baking powder is the star player here. It’s a double-acting agent, which means it creates those tiny air bubbles we love in two stages. First, when it comes into contact with moisture in the batter, and again when exposed to heat during cooking. This double action helps prevent our pancakes from collapsing and keeps them light and airy.
Baking soda also plays a part in some recipes. It reacts with acidic ingredients like buttermilk to produce carbon dioxide, which adds even more lift to our pancakes. The trick is to mix the batter gently and cook it right away to trap those bubbles. Over-mixing can lead to flat, chewy pancakes – definitely not what we’re aiming for!
Importance of Fat Content
Fat is more than just flavor in our chocolate pancakes – it’s a texture enhancer too. I like to use oil in my pancakes because it adds moisture and richness. Unlike butter, oil stays liquid at room temperature, which means our pancakes stay tender even after they cool down.
The fat also coats the flour particles, which slows down gluten development. This is key for keeping our pancakes soft and fluffy rather than tough and chewy. Remember, when it comes to pancakes, we want just enough gluten to hold things together, but not so much that we end up with rubbery disks.
Effects of Cocoa on Texture
Adding cocoa to our pancake batter isn’t just about flavor – it also affects the texture. Cocoa powder can be quite drying, so we need to balance it carefully with our wet ingredients. One trick I’ve learned is to “bloom” the cocoa by mixing it with hot water and melted butter before adding it to the batter. This step enhances the chocolate flavor and helps prevent the cocoa from drying out our pancakes.
The type of cocoa we use matters too. Natural cocoa powder gives a more breakfast-like flavor, while Dutch-processed cocoa results in a deeper, more dessert-like taste. I prefer natural cocoa for my morning pancakes, but feel free to experiment and see which you like best.
By understanding these scientific principles, we can tweak our recipes to create the perfect chocolate pancakes every time. Remember, pancake making is as much about technique as it is about ingredients. So, keep your batter lumpy, your pan at the right temperature, and get ready to flip your way to pancake perfection!
Preparing Your Workspace and Ingredients
Before we dive into making our delicious chocolate pancakes, it’s crucial to set up our workspace properly and prepare our ingredients. This step is often overlooked, but it’s key to ensuring a smooth cooking process and achieving the perfect pancakes.
Mise en Place Technique
I always start by using the mise en place technique, which is French for “everything in its place.” This method involves measuring out and organizing all your ingredients before you begin cooking. For our chocolate pancakes, we’ll need to gather our dry ingredients like all-purpose flour, cocoa powder, sugar, baking powder, and salt. We’ll also need our wet ingredients such as eggs, milk, and melted butter or oil.
To make things easier, I like to whisk together the dry ingredients in one bowl and the wet ingredients in another. This way, when it’s time to mix everything together, we can do it quickly and efficiently, which is crucial for achieving the right texture in our pancakes.
Room Temperature Ingredients
One often overlooked aspect of pancake making is the temperature of our ingredients. Using room temperature ingredients can have a significant impact on the final texture of our chocolate pancakes. When ingredients like eggs and milk are at room temperature, they form an emulsion more easily, which traps air and results in fluffier pancakes.
To bring eggs to room temperature quickly, I place them in a bowl of warm water for about 10-15 minutes. For milk, I usually take it out of the fridge about an hour before I plan to start cooking. If you’re using butter, make sure it’s softened but not melted. Room temperature ingredients also mix together more smoothly, reducing the risk of overmixing our batter.
Proper Measuring Methods
Accurate measuring is crucial when making chocolate pancakes. For dry ingredients like flour and cocoa powder, I use the spoon and level method. This involves spooning the ingredient into the measuring cup and then leveling it off with a straight edge, like the back of a knife. This prevents the ingredients from being packed down, which can lead to using too much and resulting in dense pancakes.
For wet ingredients, I use clear measuring cups and check the measurement at eye level to ensure accuracy. When measuring sticky ingredients like honey or syrup, I lightly coat the measuring cup with oil first to help the ingredient slide out easily.
By taking the time to properly prepare our workspace and ingredients, we’re setting ourselves up for success in making the perfect chocolate pancakes. This attention to detail might seem like extra work, but trust me, it makes a world of difference in the final product. Now that we’re all set up, let’s move on to the exciting part – cooking our chocolate pancakes!
Step-by-Step Cooking Guide
Now that we’ve prepared our workspace and ingredients, let’s dive into the exciting process of making our chocolate pancakes. I’ll guide you through each step to ensure you achieve the perfect batch every time.
Creating the Batter
To start, we’ll create our chocolate pancake batter. In a large bowl, sift together the all-purpose flour, cocoa powder, sugar, baking powder, and salt. Sifting is crucial as it aerates the dry ingredients, leading to fluffier pancakes. In a separate bowl, whisk together the wet ingredients: milk, eggs, and vanilla extract.
Next, we’ll use a technique that really enhances the chocolate flavor. In a small bowl, mix hot water with cocoa powder. This “blooming” process intensifies the cocoa flavor. Add melted butter to this mixture and stir well.
Now, it’s time to combine everything. Make a well in the center of the dry ingredients and pour in the wet mixture along with the cocoa-butter blend. Gently fold everything together until just combined. Remember, lumps are okay! Over-mixing can lead to tough pancakes, so resist the urge to stir until smooth.
If you’re using chocolate chips, fold them in now. Let the batter rest for about 5-15 minutes. This allows the flour to absorb the liquid, resulting in more tender pancakes.
Heating the Cooking Surface
While the batter rests, let’s prepare our cooking surface. For the best results, use a non-stick skillet or griddle. Heat it over medium heat. To test if it’s ready, sprinkle a few drops of water on the surface. If they sizzle and evaporate quickly, you’re good to go.
Lightly grease the surface with butter or oil. Be careful not to use too much, as this can make flipping the pancakes difficult.
Pouring and Cooking Techniques
Now for the fun part – cooking our chocolate pancakes! Use a 1/4 cup measure to pour the batter onto the hot surface. This ensures consistent sizing, which is key for even cooking.
Let the pancakes cook undisturbed for about 2-3 minutes. You’ll know it’s time to flip when you see small bubbles forming on the surface and the edges starting to set. This is a crucial moment – resist the urge to flip too early!
Using a thin spatula, carefully flip the pancake and cook for another 1-2 minutes on the other side. The second side usually cooks faster than the first.
As you finish each batch, transfer the pancakes to a warm plate and cover loosely with foil to keep them warm. Remember to re-grease the pan between batches.
By following these steps, you’ll create a stack of perfectly cooked, fluffy chocolate pancakes that are sure to impress. The key is patience and attention to detail. Happy cooking!
Elevating Your Chocolate Pancakes
Now that we’ve mastered the basics of making chocolate pancakes, let’s explore some ways to take them to the next level. With a few creative touches, we can transform our already delicious pancakes into an extraordinary breakfast experience.
Homemade Syrups and Sauces
While maple syrup is a classic choice, creating your own homemade syrups and sauces can really elevate your chocolate pancakes. One option is to make a rich chocolate sauce. To do this, we heat heavy cream in a saucepan until it begins to boil gently, then pour it over chocolate chips and whisk to combine 1. This creates a velvety smooth chocolate sauce that pairs perfectly with our pancakes.
For a less sweet option, we can make a homemade chocolate syrup using brown sugar, cocoa powder, vanilla extract, and water. Simply combine these ingredients in a saucepan, cook until thickened, and stir in some butter for added richness . This syrup can be stored in the refrigerator for up to two weeks, making it a convenient option for multiple pancake breakfasts.
Creative Garnishes
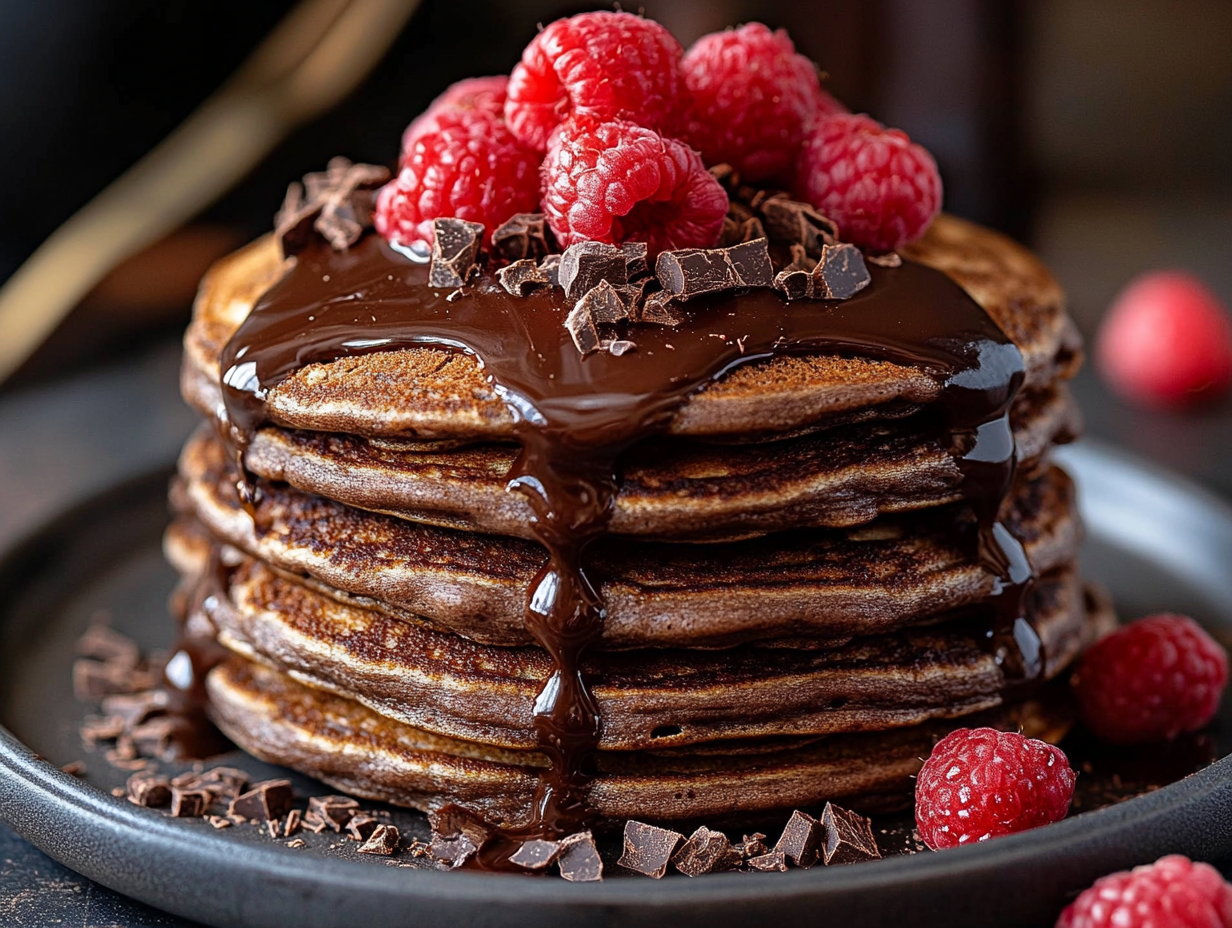
To add visual appeal and extra flavor to our chocolate pancakes, we can get creative with garnishes. Fresh fruits like strawberries, raspberries, or sliced bananas not only add a pop of color but also complement the chocolate flavor beautifully. For a crunchy texture, we can sprinkle some chopped nuts like pecans, slivered almonds, or crushed hazelnuts over the top.
For an extra indulgent touch, a dollop of freshly whipped cream or a scoop of vanilla ice cream can turn our breakfast into a dessert-like treat. Some chocolate lovers might even want to go for a triple chocolate experience by adding chocolate chips to the batter and topping the pancakes with both chocolate sauce and whipped cream .
Flavor Variations
While classic chocolate pancakes are delicious on their own, experimenting with flavor variations can keep things exciting. One popular option is to add peanut butter to the pancakes, creating a delightful combination of chocolate and nutty flavors . For those who prefer a more intense chocolate experience, using dark chocolate with 70% cocoa solids in the batter or as a topping can provide a rich, deep flavor .
Another interesting variation is to incorporate banana into the batter for banana chocolate pancakes. This not only adds natural sweetness but also creates a moist, tender texture. For a twist on the classic, we could even try white chocolate pancakes for a milder, creamy flavor profile.
By exploring these homemade syrups, creative garnishes, and flavor variations, we can elevate our chocolate pancakes from a simple breakfast to a gourmet experience. Remember, the key is to have fun and experiment with different combinations to find your perfect chocolate pancake creation.
Conclusion
Mastering the art of chocolate pancake making is a journey that combines culinary science with creative flair. This guide has provided insights into the key elements that have an impact on pancake perfection, from understanding leavening agents to exploring innovative toppings. By paying attention to these details, you’re now equipped to create a breakfast experience that’s sure to impress.
So, why not give these chocolate pancakes a try? With practice, you’ll develop your own signature style and maybe even come up with some exciting new variations. Remember, the joy of cooking lies not just in the end result, but also in the process of creation and experimentation. Happy pancake flipping!
FAQs
What is the key to making perfect pancakes? To achieve perfect pancakes, consider these top tips: always check that your baking powder is fresh, thoroughly whisk your dry ingredients to prevent lumps, avoid over-mixing the batter, allow the batter to rest before cooking, use a large skillet or griddle for even cooking, clean the pan between batches, and keep a close eye on the cooking process.
What ingredients are used to make chocolate pancakes? Chocolate pancakes typically consist of 1 1/3 cups of all-purpose flour, 1/3 cup plus 1 tablespoon of unsweetened cocoa powder, 6 tablespoons of granulated sugar, 1 1/2 teaspoons of baking powder, and 3/4 teaspoon of kosher salt. If using table salt, halve the amount.
How can you improve a pancake mix? To enhance a pancake mix, add baking soda or another leavening agent to give the pancakes a fluffy texture. Incorporating a few eggs into the mix, if not already included, can also improve the quality of the pancakes.
Why do pancakes from restaurants taste so good? Restaurants often use specific techniques and ingredients to make their pancakes particularly appealing, such as using professional griddles that provide consistent heat, adding butter for rich flavor, and employing secret recipes or mixes that have been refined for taste and texture.